How to Self-Host n8n for FREE in Minutes (2025 Guide)

Quick Summary
Tools mentioned Are you tired of monthly subscription fees for workflow automation tools? Want more control and privacy over your automation data? This guide will show you how to self-host n8n for free—using Render and Supabase—so you get powerful workflow automation with no usag…
 n8n workflows.svg" alt="n8n logo" style="height:32px;width:auto;display:inline-block;margin:0 8px;filter:grayscale(50%) brightness(1.5);opacity:0.7;" title="">


Are you tired of monthly subscription fees for workflow automation tools? Want more control and privacy over your automation data? This guide will show you how to self-host n8n for free—using Render and Supabase—so you get powerful workflow automation with no usage limits and full data privacy.
What is n8n?
n8n (pronounced “n-eight-n”) is a powerful workflow automation tool (think open-source Zapier/Make) you can self-host. This means:
- Cost savings: No monthly fees.
- Data privacy: Your data stays on your server.
- Unlimited workflows: No artificial limits.
- Customization & Security: Configure anything to your needs.
Prerequisites
- Free Render account
- Free Supabase (or direct PostgreSQL) account
- Basic understanding of environment variables (don’t worry, steps are shown)
Step 1: Set Up Your Database (1–3 minutes)
With Supabase
- Sign up and log in to Supabase.
- Click “New Project”, give it a name (e.g.,
n8n-tutorial). - Generate and save a secure database password.
- Choose the region nearest you.
- Wait for initialization (2–3 minutes).
- In Project Settings → Database, copy your Host, Port, User, and Password.
With Render PostgreSQL
- In the Render dashboard, click “New” → “PostgreSQL”.
- Name your database (e.g.,
n8n_db). - Choose the same region as your web service.
- Select “Free” tier for testing, or “Starter” for more resources.
- Click “Create Database” and wait for deployment.
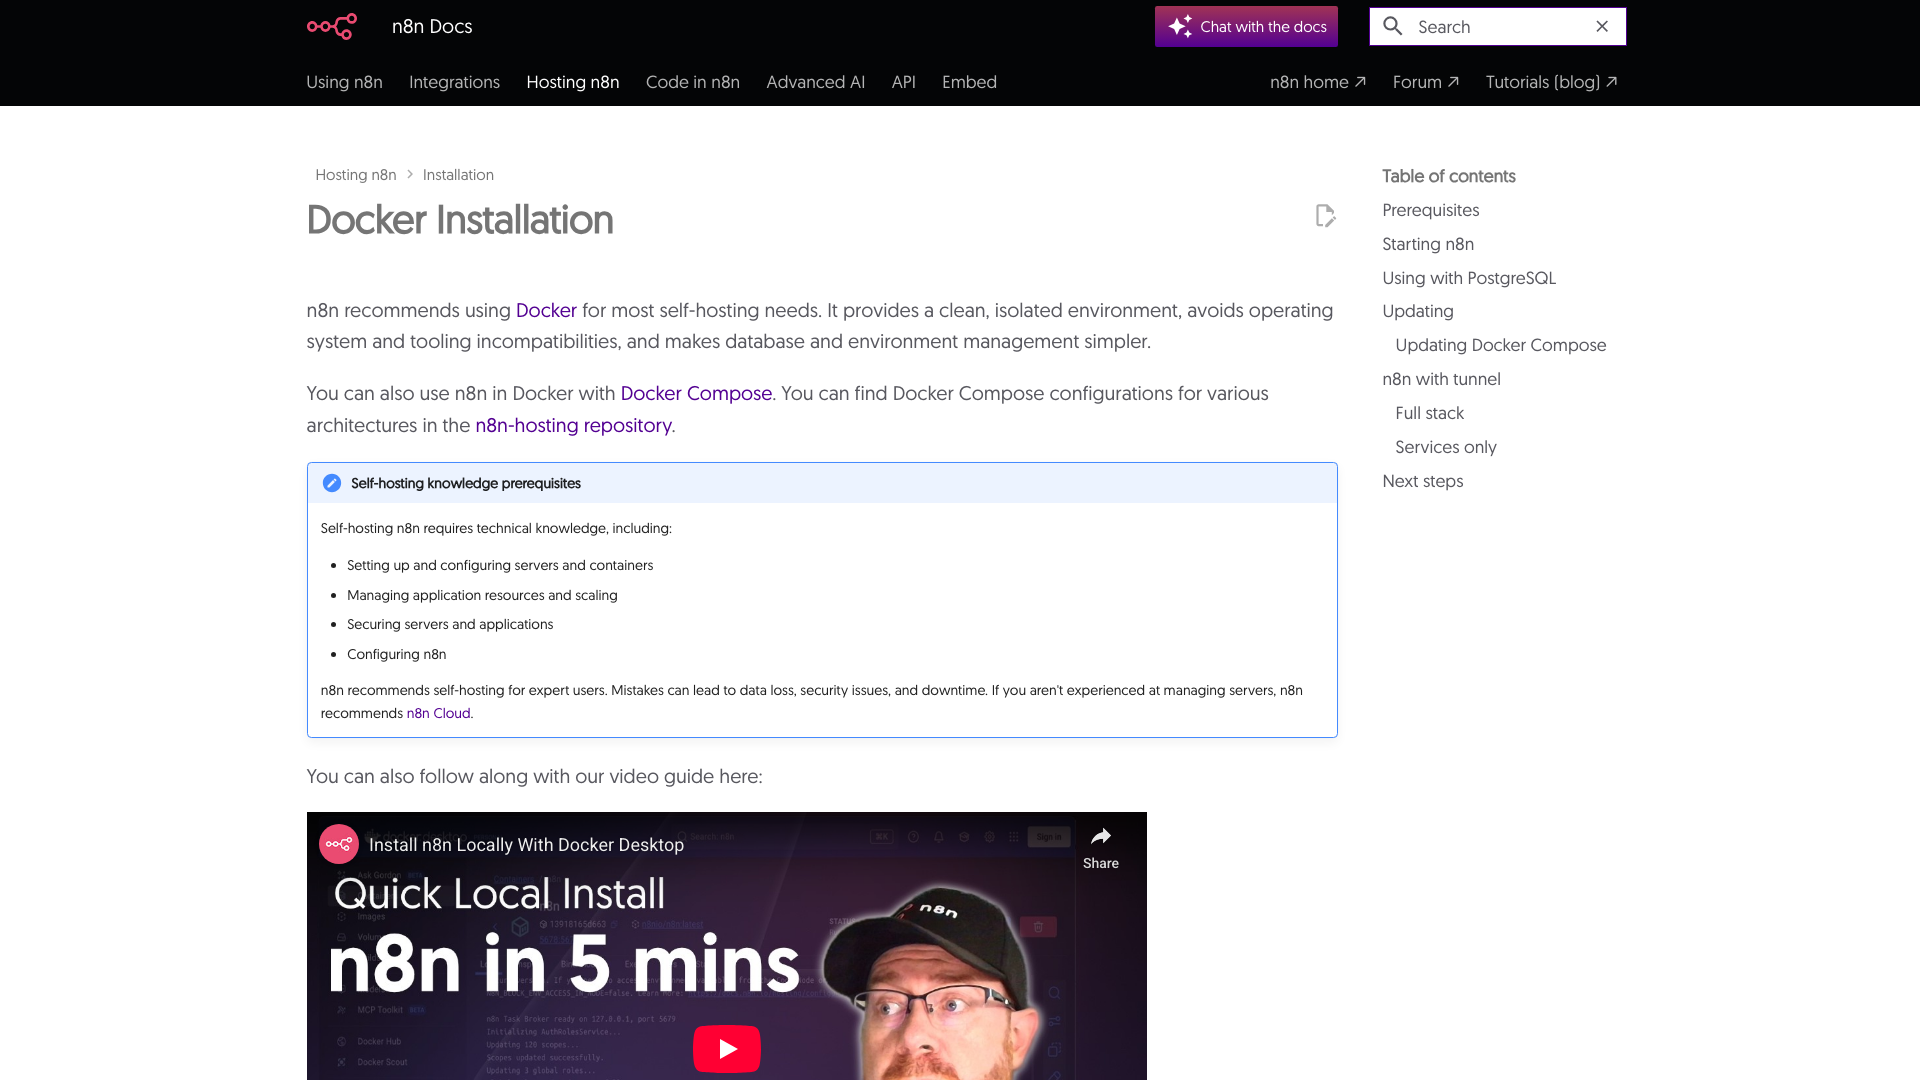
Step 2: Deploy n8n on Render (1–4 minutes)
- Sign up and log in to Render.
- Click “New” → “Web Service”.
- Select “Deploy an existing image” and use the Docker image:
docker.io/n8nio/n8n - Name your service (e.g.,
n8n-tutorial). - Select the region matching your database.
- Choose “Free” instance type for testing (upgrade for production).
Step 3: Configure Environment Variables (1–3 minutes)
In your Render deployment, add these environment variables (replace placeholders with your actual credentials):
NODE_ENV=production
N8N_PORT=5678
N8N_PROTOCOL=https
N8N_HOST=your-service-name.onrender.com
N8N_LOG_LEVEL=info
N8N_ENCRYPTION_KEY=your_generated_secure_key_here
N8N_ENFORCE_SETTINGS_FILE_PERMISSIONS=false
N8N_RUNNERS_ENABLED=true

# Webhook configuration
WEBHOOK_URL=https://your-service-name.onrender.com/
N8N_PAYLOAD_SIZE_MAX=16
N8N_ENDPOINT_WEBHOOK=/webhook
N8N_ENDPOINT_WEBHOOK_TEST=/webhook-test

# Timezone settings
GENERIC_TIMEZONE=America/New_York
TZ=America/New_York

# Database configuration
DATABASE_URL=postgresql://your_db_user:your_db_password@your_db_host/your_db_name?sslmode=require
DB_POSTGRESDB_DATABASE=your_db_name
DB_POSTGRESDB_HOST=your_db_host
DB_POSTGRESDB_PASSWORD=your_db_password
DB_POSTGRESDB_USER=your_db_user
DB_POSTGRESDB_PORT=5432- For N8N_ENCRYPTION_KEY, generate a strong random string (e.g., from [randomkeygen.com]).
- For DATABASE_URL, ensure the
?sslmode=requireis at the end. - Use your database details from Supabase or Render.
Once done, click Save Changes or Create Web Service to deploy/redeploy.
Step 4: Access n8n & Initial Setup
- Once deployment is “Live,” click your service URL.
- You’ll be prompted to create an admin account—enter your email and password.
Step 5: Test Your Setup
- Inside n8n, click “Create new workflow”.
- Name it (e.g. “Ping Service”).
- Add a “Webhook” trigger node (GET request).
- Add a “Respond to Webhook” node to return
{ "status": "available" }. - Test using the webhook URL. If you get “status: available”, you’re good!
Optional: Enable Free Lifetime Features
- Go to Settings → License.
- Paste the activation key emailed to you by n8n for free lifetime features and community nodes.
Troubleshooting
Step 3: Configure Environment Variables (1–3 minutes)
In your Render deployment, add these environment variables (replace placeholders with your actual credentials):

- Database errors: Double-check DB credentials and
?sslmode=require. - Webhooks not firing: Make sure
WEBHOOK_URLmatches your live n8n URL. - Slow startup: Free Render tier will “sleep” after inactivity; upgrade to always-on if needed.
Pros and Cons
Pros:
- Free for testing, very affordable for always-on (~$13/month total)
- Unlimited workflow limits
- Full data ownership
- Community & custom node access
Cons:
- Free tier spins down after inactivity (causes cold starts)
- You’re responsible for updates and maintenance
- Limited support compared to official cloud
For Production: Recommended Upgrades
- Use “Starter” tiers for always-on instances—still cheaper than n8n’s hosted cloud.
Conclusion
Congrats! You now have a secure, self-hosted n8n instance for zero to very low monthly cost—perfect for learning, prototyping, personal automations, or even small business workflows.
If you found this guide useful, please share it!
Recommended Automation Tools
- n8n – powerful no-code automation
- Cloudways – fast cloud hosting
- Vapi – Voice AI automations
- Eleven Labs – Text-to-speech
- Real Phone Validation – Lead phone validation
*Questions? Drop a comment and I’ll help you out! Disclosure: Some links are affiliate links (no extra cost to you).
If you need a ready-to-use .env file template or have advanced requirements (e.g., custom Docker builds), feel free to ask!
Related Reading
Operations Autopilot
Beyond n8n — full AI operations automation
Custom AI Solutions
Custom-built AI systems, no DIY required
AI Agents
Autonomous agents for your business
All Solutions
See all 8 AI systems
Build n8n AI Agents
Next step after setup
Pricing
Skip DIY — see what we charge
Get Started
Let us build it for you